UPI QR code not scanning is usually a print, placement, camera, or QR-data problem that you can isolate in a few minutes. Work through these nine merchant-side fixes in order, then replace the code if the original print or details are no longer trustworthy.
What you need
Keep the QR card or sticker, the UPI ID that should receive the money, and a phone with a UPI app ready. If the code is printed, also keep a clean digital copy or the original details used to create it. You want to test the source and the physical print separately.
The aim is to distinguish two different problems:
- The camera cannot recognise the square: look at focus, light, size, damage, and the white margin around the code.
- The app recognises it but payment cannot continue: check the merchant details, amount, UPI ID, account status, and the payer’s app or bank connection.
NPCI describes QR-based UPI integration as storing merchant information such as the UPI ID and amount in the QR. After a successful scan, the payer should therefore review the merchant details before paying. See NPCI’s UPI FAQ for the basic QR flow.
Step 1: Open the scanner inside a UPI app
Why this helps: A normal camera may recognise a QR as an image or link without handing it to the payment flow.
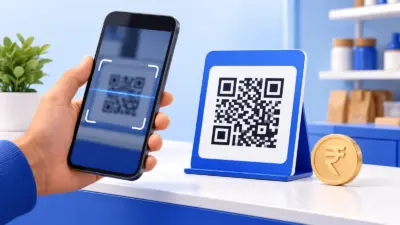
Ask the customer to open the scan-and-pay option inside the UPI app they use, then point it at the code. Keep the whole square visible and wait for the scan prompt. If the first app does not recognise the code, try another UPI app on the same phone before changing the QR.
Success looks like: the app opens a payment screen and shows a merchant name or UPI ID. Do not continue if those details are not yours.
Step 2: Remove glare and improve the light
Why this helps: A bright reflection can hide several QR modules from the camera, even when the print underneath is perfect.
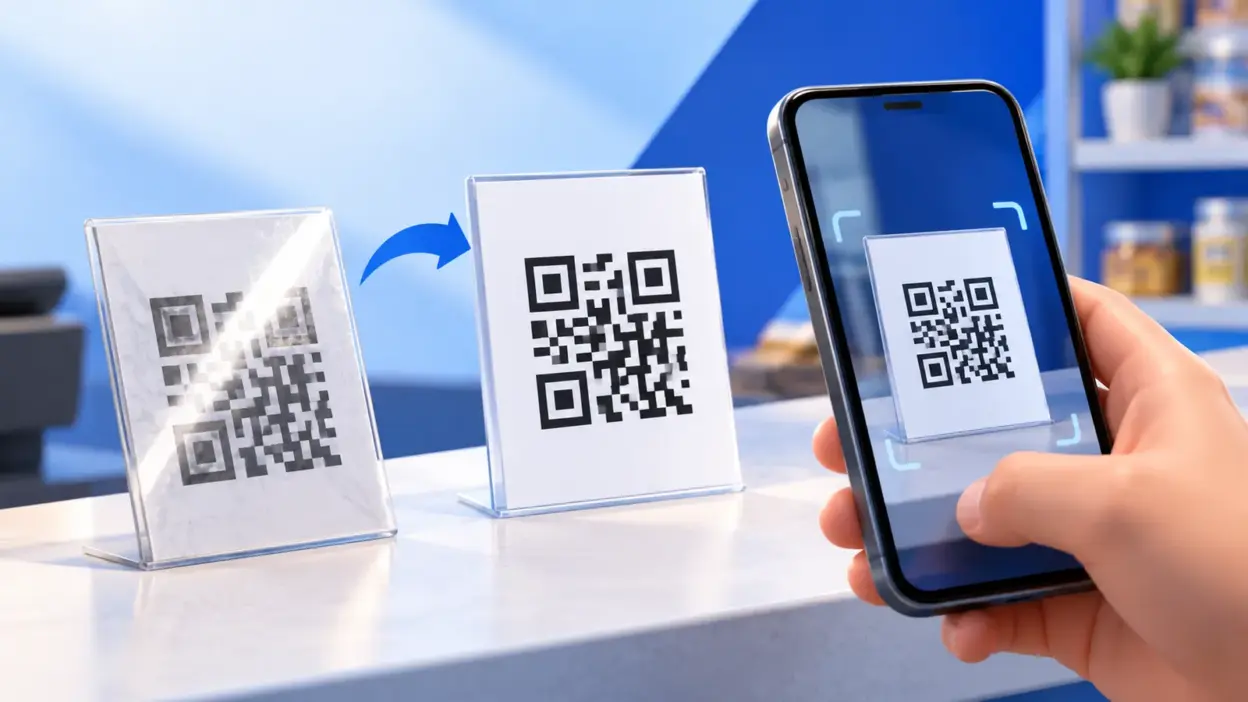
Move the standee away from direct sunlight, a bright tube light, or a glass counter. Tilt the card slightly instead of pointing the phone straight into the reflection. Try a well-lit position with even light across the entire code.
If the QR is laminated, test an unlaminated paper copy. Glossy plastic, wet surfaces, dust, and fingerprints can all create bright patches, so wipe the surface with a soft, dry cloth before testing again.
Success looks like: the entire code is visible without a white reflection crossing its dark squares.
Step 3: Clean the phone lens and lock focus
Why this helps: A smudged lens or a moving phone creates a blurred QR that cannot be decoded.
Ask the customer to wipe the camera lens with a soft cloth, hold the phone steady, and move it slowly closer or farther away. The QR should fill enough of the camera view to be clear, but its four corners must remain visible. Tapping the code on screen can help the camera focus on it.
Google’s camera guidance recommends holding steady, using good lighting, avoiding shadows and glare, cleaning the lens, and moving closer while keeping the full square in frame. Its QR scanning troubleshooting guidance is useful even when the customer uses a different Android phone.
Success looks like: the scanner locks on without repeated shaking, cropping, or taking a photograph first.
Step 4: Print the QR large enough
Why this helps: A QR that looks readable to you may be too small for a phone camera at the distance customers naturally stand.
Measure the dark QR square itself, not the surrounding sign. Reprint it larger if it is tiny, has been shrunk into a receipt, or becomes soft when viewed from the other side of the counter. For a standee, choose a size that customers can frame comfortably without pressing their phone against the surface.
NPCI’s current BHIM UPI guidelines specify a minimum QR code size of 2 cm × 2 cm for scannability in the QR sticker layouts covered by those guidelines. Treat that as a floor, not a target for a busy shop counter where the phone may be held farther away. The NPCI QR guidelines PDF also shows the importance of keeping the QR area prominent in the design.
Success looks like: the customer can see all four corners clearly from the normal paying position and the app recognises it without extreme close-ups.
Step 5: Restore the clear white space around the code
Why this helps: Text, borders, tape, or another graphic touching the QR can make it harder for the scanner to identify where the code starts and ends.
Inspect all four sides. Remove stickers, handwritten marks, thick borders, and tape that overlap the QR. Do not place a second QR, promotional badge, or dense text immediately beside it. Leave a clean white margin around the dark square when you create or print the replacement.
If your QR is inside a branded design, make the QR the main element and place the shop name or instructions outside the clear margin. Do not crop that margin when saving the image or printing it from a design tool.
Success looks like: there is an uninterrupted light border around the entire QR, with no artwork touching its finder squares.
Step 6: Replace a faded, torn, folded, or covered code
Why this helps: A QR can stop working after the paper is creased, ink fades, a corner is torn, or a price sticker covers even a small section.
Compare the physical print with the original file. Replace the card if any dark square is missing, the paper is warped, the print has white streaks, or the code has been written over. Do not try to repair individual squares with a pen. Also check that a transparent tape layer has not bubbled across the code.
Keep one spare copy in a dry place so you can swap the display quickly. Test the spare before putting it at the counter.
Success looks like: the replacement has sharp, high-contrast dark and light modules and scans from both the customer’s usual position and a second phone.
Step 7: Confirm the UPI ID and merchant name
Why this helps: A code can scan correctly and still contain an old, mistyped, or inactive payment address.
Compare the UPI ID in the QR source with the UPI ID currently shown in your merchant account. Check every character, including the part after @. If you changed accounts, handles, or the payment setup, retire the old print instead of assuming the image changed automatically.
Scan the QR and read the payment screen before entering any amount or PIN. The displayed merchant name and UPI ID should match the business you intend to receive the payment. If they do not match, stop, remove that QR, and generate a new one from the correct details.
Success looks like: the scanner opens the expected payee details, and a small test payment can be identified in the correct merchant account. Never ask a customer to enter a UPI PIN to receive money; a UPI PIN authorises a payment from the payer.
Step 8: Simplify the name, amount, and note in the QR source
Why this helps: Manually assembled QR data can be malformed when a name or note contains unsupported formatting, unescaped characters, or accidental line breaks.
If the QR was created by copying a payment string or editing a design file, go back to the source instead of editing the black squares. Enter the UPI ID exactly as provided by your merchant account. Use a simple merchant name with normal letters and spaces, then keep the note short and plain. Remove emoji, pasted line breaks, unusual punctuation, and invisible spaces while testing.
For a fixed-price QR, check that the amount is the intended amount. For a general counter QR, leave the amount open so the payer can enter the bill total. Generate a fresh image after each change.
Success looks like: the new code scans and displays the correct payee, amount, and note without an “invalid QR” or malformed-payment message.
Step 9: Regenerate a clean QR and test it before display
Why this helps: A fresh QR removes uncertainty about a damaged image, stale UPI ID, bad export, or repeated screenshot compression.
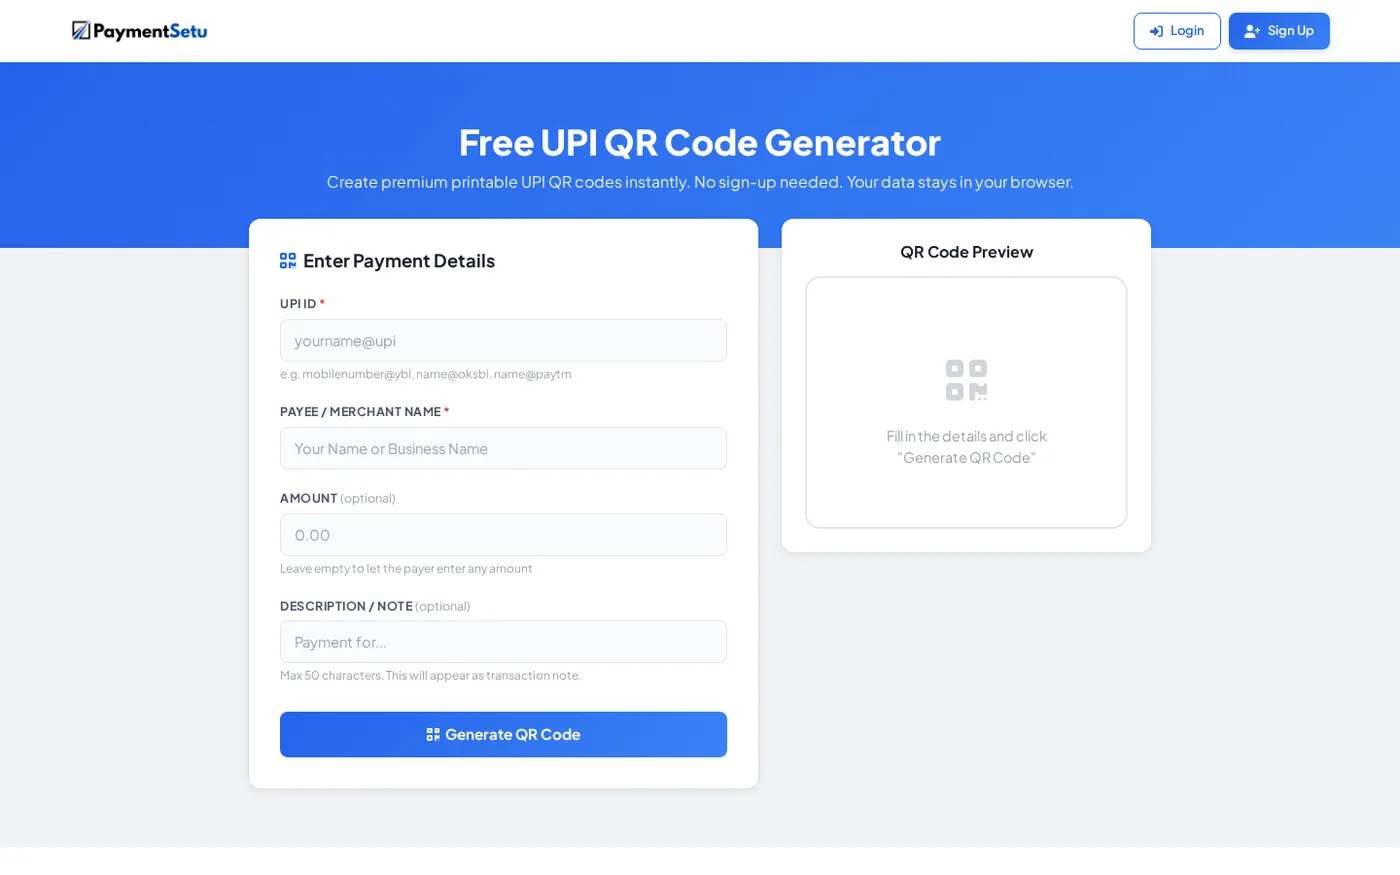
Use PaymentSetu’s free UPI QR code generator. Enter the UPI ID and merchant name carefully, add an amount only when it should be fixed, and keep the note simple. Generate the code, download the original PNG, and print that file directly rather than taking a screenshot of the preview.
Use this quick test before replacing the shop display:
- Scan the downloaded image from another phone.
- Scan the printed copy in bright, even light.
- Confirm the payee name and UPI ID on the payment screen.
- Check the printed size, white margin, and physical surface.
- Keep the replacement copy only after it passes all four checks.
Success looks like: the original downloaded image and the printed replacement both open the same expected payee details.
If the QR scans but the payment does not complete
That is a different problem from “the scanner cannot read the code”. First check what the payer sees:
| What happens after scanning | Likely area to check | Practical next action |
|---|---|---|
| No payment screen opens | Camera, glare, size, damage, or app scanner | Repeat Steps 1–6 with a clean replacement |
| Payment screen opens with the wrong payee | Wrong or old UPI ID in the source | Stop the payment and regenerate from the correct UPI ID |
| Payee is correct but amount is wrong | Fixed amount or malformed amount field | Regenerate with the correct amount, or leave it blank for an open counter QR |
| Payment is declined or pending | Payer’s app, bank, account, or transaction status | Ask the payer to check the status in their UPI app and follow their bank’s support process |
| Payment succeeds but you cannot match it to an order | Merchant-side reconciliation | Record the UTR and amount before marking an order paid |
Do not treat a screenshot of a successful payment as proof by itself. Confirm the payment in your own merchant account or the verification workflow you use, and match the amount and UTR to the order.
For a website, invoice, or online store, a static QR only tells the payer where to send money. If you need automated matching and a webhook after verification, see how PaymentSetu works and choose the setup that fits your checkout.
How to prevent the problem from returning
Keep a master copy of the QR in its original downloaded format. Print from that file, not from a WhatsApp-forwarded image or a photo of an old standee. Store the backup away from moisture and replace the display when it becomes faded, scratched, or difficult to read.
Add a simple monthly check to your shop routine: scan the code, verify the merchant name, inspect the white margin, and confirm that the printed surface is clean. If you send bills to customers, a free invoice generator with a UPI QR can keep the QR attached to the invoice rather than relying on a damaged counter sticker.
FAQ
Why is my UPI QR code not scanning from a printed paper?
The print may be too small, blurred, faded, folded, covered, or reflecting light. Clean the phone lens, use even light, keep the full code in frame, and replace the print with a sharp original export that has a clear white margin.
What should I do if the QR scanner says “invalid QR code”?
Check the UPI ID, merchant name, amount, and note used to create the code. Remove unusual formatting and line breaks, then regenerate from the original payment details instead of editing the QR image.
Can a damaged UPI QR code still work sometimes?
It may scan on one phone and fail on another when the damage, blur, or glare is close to the camera’s decoding limit. Replace it rather than relying on occasional scans, especially when customers need to pay quickly.
Why does the QR scan but show the wrong name?
The QR contains different or outdated merchant information. Do not approve the payment; remove that display and create a new QR using the correct UPI ID and merchant name.
Is a UPI QR code the same as a payment confirmation?
No. The QR only starts the payment flow. After the payer completes payment, verify the result in your merchant account or payment-verification workflow and match the amount and UTR before fulfilling an order.
DONE upi-qr-code-not-scanning-fixes words=2204