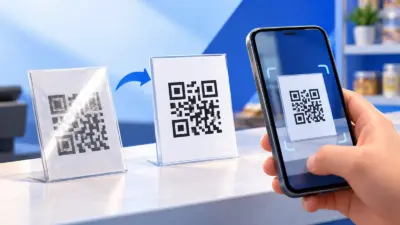
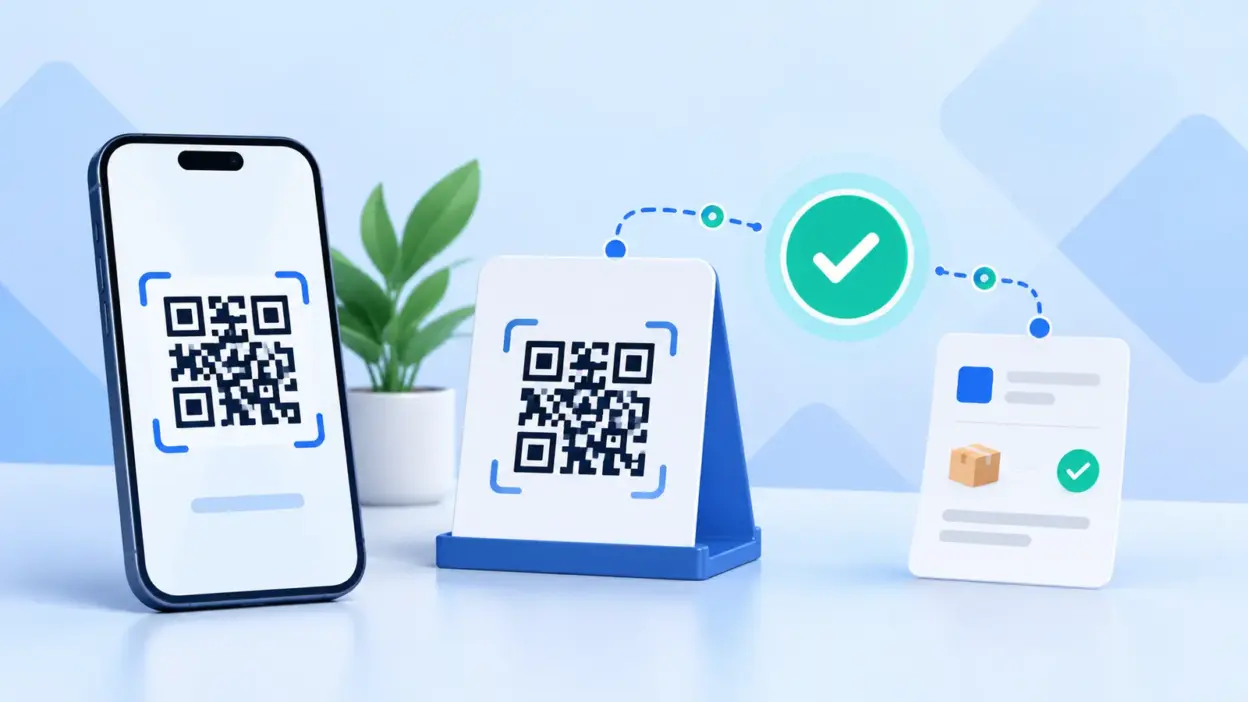
A paytm business qr code lets customers scan and pay your merchant account at a shop counter, on an invoice or from a shared image. This guide shows you where to find the QR in Paytm for Business, how to print and test it, and how to connect Paytm Business payments to PaymentSetu for online order verification.
What you need before you start
Choose the QR route based on how you collect payments:
| Use case | QR to use | What happens after the scan |
|---|---|---|
| Shop, stall, clinic or reception counter | Paytm Business merchant QR | The customer checks your business name, enters the bill amount and pays |
| Printed invoice or WhatsApp order | A static QR made from your Paytm Business UPI ID | The customer scans the same destination and enters or confirms the amount |
| Website, booking or service order | A unique dynamic QR for each order | The payment request carries order context so your system can match it |
Keep these details ready:
- Your active Paytm Business merchant account.
- The Paytm Business UPI ID or merchant QR connected to the account that should receive the money.
- The business name customers should see before they authorise a payment.
- A second phone or UPI app for testing.
- A printer or display surface if you want a physical counter QR.
A QR code helps a customer open a payment screen. It is not proof that a payment has reached you. Before handing over goods or marking an online order paid, check your merchant payment record or your payment-verification workflow.
Where to find your Paytm Business QR
Paytm’s current All-in-One QR instructions use the Paytm for Business app or the Business dashboard. In the app, open the QR area, choose Show QR Code, and then use Download QR Code to save the image. Paytm also documents an option to order a physical QR sticker from the business app.
The exact labels can change with app updates, account type or dashboard layout, but the route is usually similar:
- Open the official Paytm for Business app or sign in to the Paytm Business dashboard.
- Sign in to the correct merchant account and, if you manage several outlets, choose the right outlet.
- Open Show QR Code or the merchant QR section.
- Check the displayed business or payee name before downloading anything.
- Tap Download QR Code, save the original image and print it when required.
If you want a physical standee or sticker, look for the option to order a QR sticker in the same QR or acceptance-payment area. Follow the activation instructions shown for that QR before displaying it.
What success looks like: you have a QR associated with the intended Paytm Business account, and a scan shows the correct business name before the payer enters a UPI PIN.
Step 1: Download your Paytm Business QR
Why: Saving the merchant QR from the account that receives your payments prevents you from printing an unrelated personal or old QR.
- Open the Paytm Business app or dashboard.
- Go to the merchant QR section and select Show QR Code.
- Review the name, outlet and any account information shown around the code.
- Select Download QR Code or the available save/share action.
- Keep the original file in a safe business folder. Make copies only after you have tested it.
What success looks like: the downloaded file opens clearly, has not been cropped, and scans to the intended merchant payment screen.
Paytm’s official guidance says the downloaded QR can be printed and displayed for customers. Do not edit the code itself, cover its corners or place a logo, sticker or patterned design over the scan area.
Step 2: Print and display the QR correctly
Why: A QR that works on a bright phone screen can become difficult to scan when it is small, blurry or covered by glare.
Use these practical checks before putting it on a counter:
- Print from the original downloaded image rather than a screenshot of the app.
- Keep strong contrast between the dark code and its light background.
- Leave clear white space around all four sides of the code.
- Avoid folding, scratching, laminating with heavy glare or placing tape across the pattern.
- Put the business name beside the code so the customer can compare it with the name shown in the UPI app.
- Place the standee where a customer can hold a phone squarely in front of it.
Test the actual printed copy from the distance and angle customers will use. If the camera cannot recognise it quickly, make a larger, sharper copy instead of repeatedly reprinting the same blurred file.
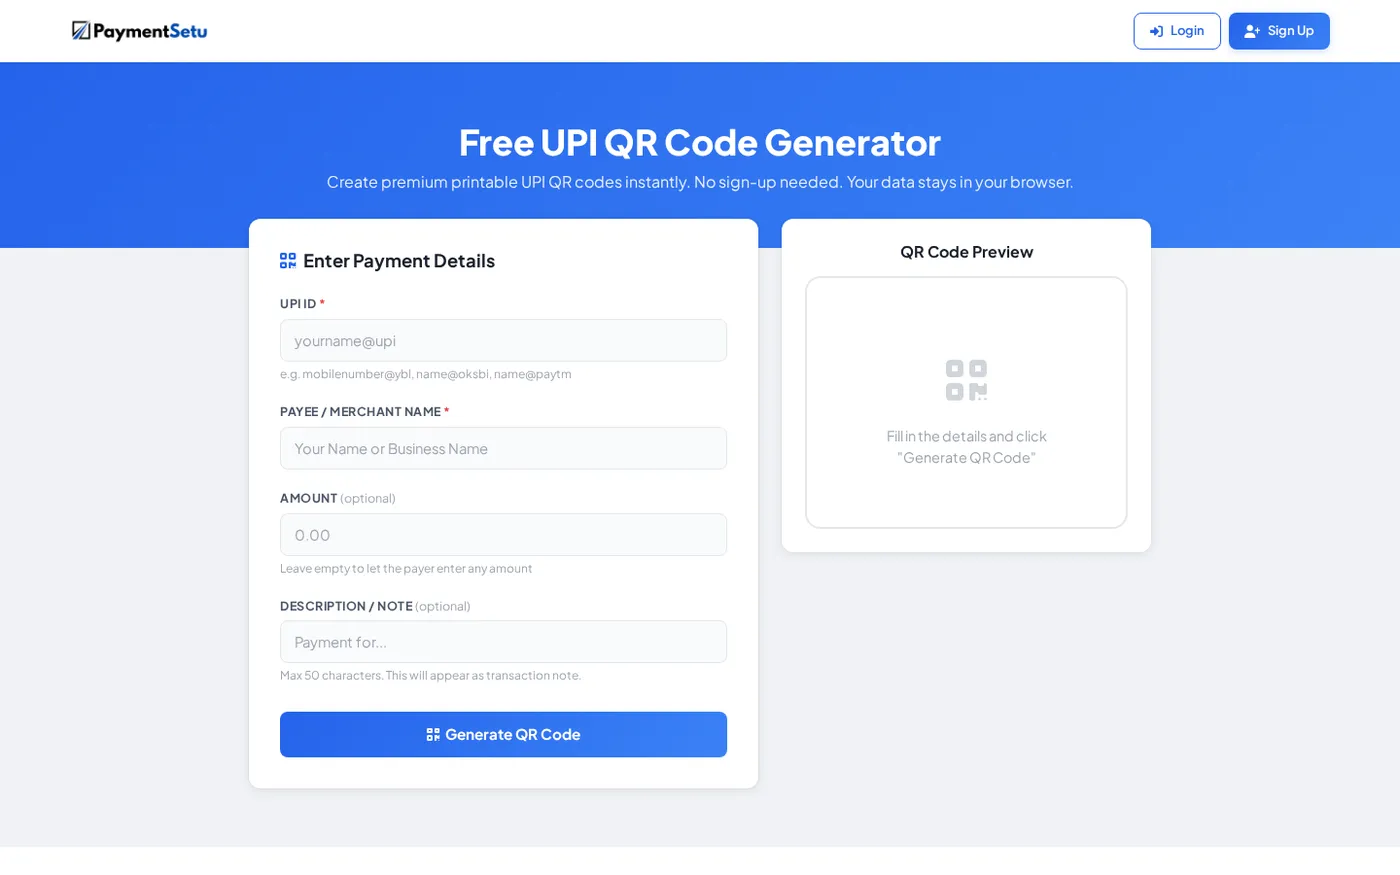
Step 3: Make a printable QR from your Paytm Business UPI ID
The Paytm Business app is the right place to obtain the merchant QR connected to your Paytm account. If you already know the exact Paytm Business UPI ID and need a clean QR image for an invoice, menu, counter card or WhatsApp order, you can also use PaymentSetu’s free UPI QR code generator.
The tool runs without sign-up. Enter the destination details carefully:
- Open the free UPI QR code generator.
- Enter your Paytm Business UPI ID exactly as shown in your merchant account.
- Enter the business or payee name customers should recognise.
- Leave the amount blank for a general-purpose counter QR.
- Enter a fixed amount only when the QR is for one known price, such as a standard service or class fee.
- Add a short note only when it helps identify the payment.
- Generate the QR, review the preview and download the PNG.
What success looks like: the preview contains the correct Paytm Business UPI ID, the business name is spelled correctly and the amount is blank or fixed exactly as intended.
Never enter a UPI PIN, card number, bank password or OTP into a QR generator. Those details are not needed to create a payment QR. Scan the finished image and verify the recipient in the payment app before printing or sharing it.
Static QR or dynamic QR for online orders?
A static Paytm Business QR generally points to the same merchant destination each time. It works well when a person is present to confirm the bill amount at a counter, or when the customer is paying from an invoice that already states the amount.
An order-wise dynamic QR is different. It can be created for one order and carry details such as the amount and transaction reference. NPCI’s UPI FAQ explains that QR-based merchant payments can include the merchant UPI ID and amount, while dynamic QR flows can use a transaction reference for reconciliation.
| Requirement | Static Paytm Business QR | Dynamic QR for each order |
|---|---|---|
| Best for | Counter, stall, menu, business card or reusable invoice | Online shop, booking, SaaS or service checkout |
| Amount | Customer enters it or confirms a pre-filled amount | Created for that order’s amount |
| Order reference | Usually matched manually | Can be matched to the order reference |
| Payment update | Check the merchant record yourself | Verification service can send a webhook |
| Setup | Download or generate and print | Connect your checkout or billing system |
Use a static QR when the amount and order context are simple. Use a dynamic QR when your system needs to know exactly which customer order was paid without asking someone to compare every incoming payment manually.
The QR is only the payment instruction. The payer still needs to review the recipient and amount in the UPI app. Your business still needs to confirm the credit before fulfilment.
Connect Paytm Business to PaymentSetu for online orders
PaymentSetu is a payment verification service, not a payment gateway. The customer pays directly into your own Paytm Business merchant account; PaymentSetu matches the payment’s UTR and amount to the dynamic QR or order, then sends a webhook to your system. It does not hold the money.
Step 4: Create your PaymentSetu account
Why: The dashboard is where you connect the Paytm Business merchant account and choose how your website or billing system will create payment requests.
- Create a PaymentSetu account.
- Open the dashboard after signing in.
- Choose the Paytm Business merchant connector.
- Complete the Paytm Business sign-in and OTP steps shown in the connection flow.
- Confirm the connected merchant name and account before creating a live order.
What success looks like: the dashboard shows the intended Paytm Business account ready for payment verification.
Step 5: Choose your online integration
Why: The order reference must travel from your checkout to the payment request and back to your order record.
- For WooCommerce, use the PaymentSetu WooCommerce plugin. The plugin displays the UPI payment flow and updates the order after verification.
- For hosting companies using WHMCS, use the PaymentSetu WHMCS module for invoice and renewal payments.
- For a custom store, SaaS product or booking system, use the PaymentSetu API to create an order and receive the status through an HMAC-signed webhook.
Pass your own order or invoice reference and the exact amount when creating a payment request. Show the generated QR to the customer and store the same reference with your order record.
What success looks like: each checkout gets its own payment context, and your application can identify the order associated with a verified payment.
Step 6: Verify the webhook before fulfilment
Why: A payment event should update one matching order only after your server has checked its authenticity and contents.
- Receive the PaymentSetu webhook at your server.
- Verify the HMAC signature before processing the event.
- Match the order reference, amount, UTR and payment status against your own record.
- Make the order update idempotently so a repeated notification cannot fulfil it twice.
- Keep the Paytm Business record and the verification result available for reconciliation.
What success looks like: the payment is credited to your Paytm Business merchant account, the matching status reaches your application and the correct order changes state without relying on a customer screenshot.
Which PaymentSetu plan fits?
PaymentSetu plans are charged per 30 days. One credit represents one successful payment verified.
| Plan | Price | Credits | Best fit |
|---|---|---|---|
| Starter | ₹399 / 30 days | 100 | Small shops, freelancers and new stores |
| Pro | ₹999 / 30 days | 1,000 | Growing WooCommerce, WHMCS and service businesses |
| Business | ₹1,499 / 30 days | 100,000 | High-volume, SaaS and multi-branch businesses |
All plans include dynamic QR, webhooks, a unified dashboard, real-time notifications and API access. Review the PaymentSetu pricing when choosing a plan for your expected verified-payment volume.
Verify your QR before customers use it
Run this checklist for a downloaded Paytm QR or a QR made from the UPI ID:
- Scan the code with a second phone or another UPI app.
- Confirm the displayed payee or business name.
- Confirm that the UPI ID belongs to the intended Paytm Business account.
- Check that the amount is blank for a reusable counter QR or fixed only when you intended it to be.
- If you make a legitimate test payment, confirm the credit in your own merchant record or bank account.
- For online orders, confirm that the matching UTR, amount and order reference reach your verification workflow.
- Print or share the QR only after the digital and physical copies pass the scan test.
NPCI’s fraud-awareness guidance is clear: scanning a QR and entering a UPI PIN is for making a payment, not receiving one. A customer should never be told to scan a QR and enter a PIN to “accept” money.
Troubleshooting a Paytm Business QR
The QR will not scan
Try the original downloaded image and check that the code has not been cropped, stretched, blurred or covered. For a physical copy, increase its size, preserve the white border and test it without glare from plastic or glass.
The payment screen shows the wrong business name
Stop using that QR until the destination is corrected. Recheck the Paytm Business account or UPI ID, generate or download the correct QR, and scan it again before printing.
Customers paid but you cannot identify the order
A reusable static QR does not automatically create a unique reference for every website order. Match the amount, time and UTR through your own process for simple collections, or use an order-wise dynamic QR with PaymentSetu verification for automated matching.
A customer sends a successful-payment screenshot
Treat the screenshot as a claim, not final confirmation. Check your own Paytm Business payment history, notification or bank record, and for online orders check the verified status, amount, UTR and order reference before fulfilment.
The Paytm Business menu looks different
Update the app and look for Show QR Code, Download QR Code, QR, Manage QR or the merchant acceptance section. If the labels still differ, use the app’s help area or the current Paytm Business dashboard instructions.
FAQ
How do I get a Paytm Business QR code?
Open the Paytm for Business app or dashboard, go to the merchant QR area, choose Show QR Code and then select Download QR Code. Check the business name and outlet before saving or printing it.
Can I print my Paytm Business QR code?
Yes. Download the original QR image, keep a clear margin around it and print it on a clean, high-contrast surface. Scan the actual print from a customer’s viewing distance before displaying it.
Can I make a Paytm QR code from my UPI ID?
Yes, when you have the correct Paytm Business UPI ID, you can use the free UPI QR code generator to create a printable static QR. Always scan the result and confirm that the displayed payee is the intended business.
Is a Paytm Business QR static or dynamic?
The merchant QR you download for a counter is generally a reusable static destination, while an online checkout can create a separate dynamic QR for each order. Dynamic requests are better suited to order references, fixed amounts and automated reconciliation.
How can I verify Paytm Business payments for website orders?
Connect your Paytm Business merchant account to PaymentSetu, create an order-wise payment request and receive the HMAC-signed webhook. Check the order reference, amount, UTR and status before marking the order paid or fulfilling it.
Does PaymentSetu receive or hold the customer’s money?
No. The customer pays directly into your own Paytm Business merchant account. PaymentSetu verifies the payment against the order and sends the status to your system; it is a payment verification service, not a payment gateway.