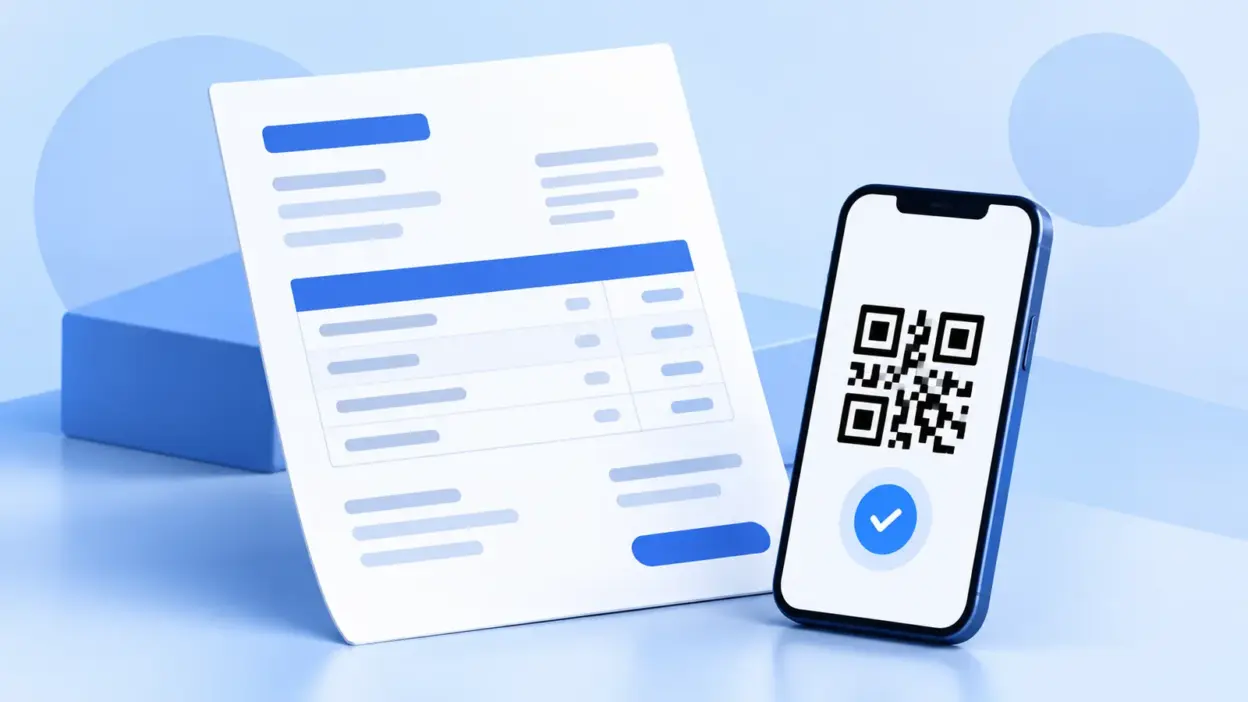
The right freelancer invoice format India clients expect should make three things obvious: who did the work, what was delivered, and how much is due. Below is a practical field-by-field layout, a filled sample you can adapt, and a free way to create a PDF invoice with a UPI QR code for faster payment.
What you need before making an invoice
Keep these details ready before you create the document:
- Your name or business name, address, email and phone number.
- Your PAN and GSTIN, if applicable to your business and client arrangement.
- The client’s legal or display name, billing address, email and purchase-order contact, if they have one.
- A simple invoice-number sequence, such as
INV-2026-001. - The service description, quantity or hours, rate, agreed amount and any approved extra charges.
- Your payment method, UPI ID or bank details, payment terms and due date.
- A copy of the scope, milestone approval or timesheet supporting the amount billed.
For a recurring client, save your own details and the client’s details as a reusable template. Change the invoice number, dates, work description and totals for each new bill. Keeping one consistent sequence makes it easier to answer a client’s accounts team and find the matching payment later.
What every freelancer invoice should show
Think of the invoice as a compact record of an agreement. These are the core fields to include in a normal service invoice.
| Invoice area | What to write | Example |
|---|---|---|
| Heading | Identify the document clearly | Invoice |
| Seller details | Your name or business name, address and contact details | Aarav Mehta Studio, Pune, Maharashtra |
| Invoice number | A unique number that follows your sequence | INV-2026-014 |
| Issue date | The date you send or issue the invoice | 23 October 2026 |
| Due date | When payment is expected | 7 November 2026 |
| Bill-to details | Client name, business name and billing address | BrightLeaf Foods Pvt. Ltd., Bengaluru |
| Service lines | Specific work, quantity or hours, rate and line total | Website copy — 5 pages × ₹3,000 |
| Totals | Subtotal, discount or other agreed charge, and final amount | Total due: ₹17,700 |
| Tax block | GSTIN, SAC/HSN and tax breakup only when relevant to your situation | Add the applicable details after checking your position |
| Payment instructions | UPI ID, bank details or another agreed method | Pay by UPI using the QR below |
| Terms and notes | Scope or milestone reference, late-payment wording if agreed, and a thank-you note | Net 15; milestone 2 of 3 |
1. Identify both sides
Put your name or trading name at the top, followed by your address, email and phone number. If you work under a registered business, use the name and address your client has on file. Then add the client’s name and billing details in a separate “Bill to” block.
Do not rely on a social-media handle alone. A client may need the invoice to match a purchase order, vendor record or internal approval.
2. Number and date every invoice
Use one unique invoice number per document. A format such as INV-2026-014 is easy to search and tells you the financial year and sequence at a glance. Do not reuse a number after cancelling an invoice; record what happened in your own files.
Show the issue date and a clear due date. If the agreement says “15 days from receipt”, write the actual due date as well so there is less back-and-forth.
3. Describe the service in enough detail
“Freelance work” is too vague for a useful record. Write what the client is paying for: “Product page copy — 8 pages”, “Logo concepts — 3 directions”, “Monthly website maintenance — October 2026”, or “Python automation — milestone 2”.
For hourly or daily work, include the quantity and rate. For a fixed project, show the milestone or deliverable instead. Match the wording to the proposal or work order so the client can approve it quickly.
4. Show the calculation and final amount
List the amount for each service line, then show the subtotal. Add an agreed discount or reimbursable charge as its own line rather than hiding it inside the total. The final amount due should be visually easy to find.
If you are charging GST, use a separate tax section with the details that apply to your registration and supply. A normal invoice should not be labelled “Tax Invoice” or show a tax amount just because a template has a tax row.
The CBIC tax-invoice rules list the particulars for a GST tax invoice, including supplier and recipient details, a consecutive number, issue date, description, taxable value, tax rate and tax amount. Treat that page as the source to check with your tax professional when your situation requires a GST tax invoice; this guide is not tax advice.
Step 1: Choose the invoice structure
Why this matters: a predictable layout helps a client find the amount and payment instructions without asking you to explain the document.
Start with this order:
- Invoice heading and your name or business name.
- Invoice number, issue date and due date.
- From and Bill to details.
- Service table with description, quantity, rate and amount.
- Subtotal, discount, tax if applicable, and total due.
- Payment instructions, terms and a short note.
Success looks like this: someone who has not worked on the project can identify the supplier, client, deliverable, amount and next action in under a minute.
Step 2: Add your service lines and totals
Why this matters: a specific calculation gives the client a clear approval trail and gives you a reliable record of what the payment covers.
Write one line for each deliverable or billing unit. For example:
| Description | Qty | Rate | Amount |
|---|---|---|---|
| Website copy — five service pages | 5 pages | ₹3,000 | ₹15,000 |
| Stock image reimbursement | 1 | ₹1,500 | ₹1,500 |
| Subtotal | ₹16,500 | ||
| GST, if applicable | Use the applicable tax details |
Do not invent a GST rate for a sample. The rate, classification and tax treatment depend on your facts and the supply. If you are GST-registered, use the relevant fields and verify the result before sending the invoice.
Success looks like this: the line amounts add up to the subtotal, the total matches the agreed quote, and the client can tell whether the invoice is for a milestone, a retainer period or a one-off project.
Step 3: Create the PDF invoice for free
Why this matters: a PDF preserves the layout when you send it by email or WhatsApp and is easier for the client to save with their records.
Open the PaymentSetu free invoice generator, enter your details and add the client and service lines. The tool can place a UPI QR on the invoice, download the result as a PDF, and includes fields for HSN/SAC, tax, discount, shipping and multiple currencies. It works without sign-up, and the product page says the data stays in the browser.
Use this workflow:
- Enter your name, address and contact details.
- Add the invoice number, issue date and due date.
- Fill in the client’s details exactly as requested.
- Add each service, quantity, rate and approved adjustment.
- Add tax fields only when they apply to your case.
- Enter your UPI ID and check the QR preview.
- Download the PDF and open it once before sending.
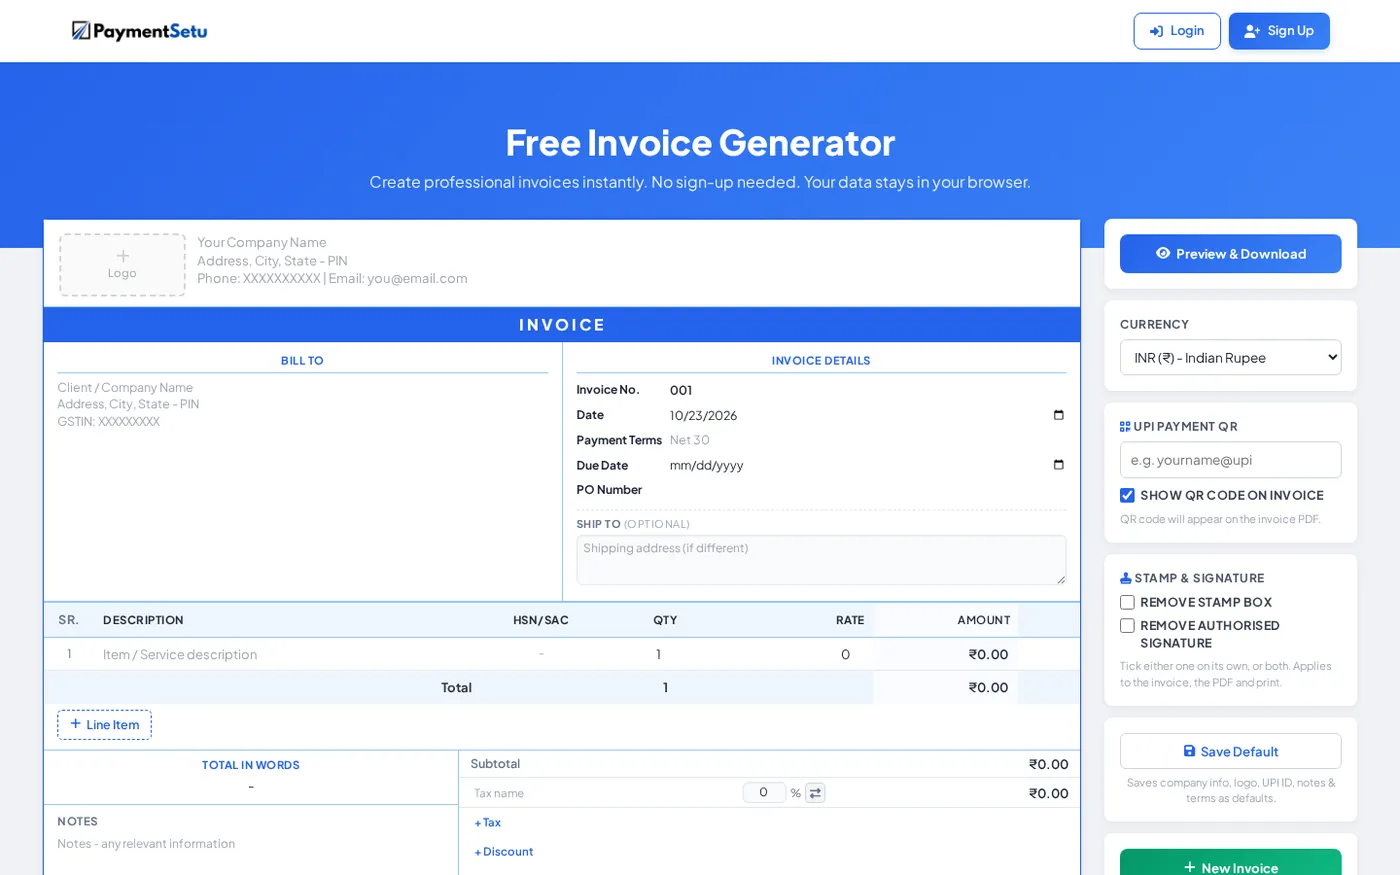
Success looks like this: the PDF has one clear total, no placeholder text, a readable QR, and the invoice number and due date are visible without zooming.
Step 4: Add a UPI QR so clients can pay in one scan
Why this matters: clients can pay from the invoice instead of switching between your message, saved UPI ID and banking app.
Put the QR near the payment instructions, with a text fallback below it:
Payment due: ₹16,500 Scan the UPI QR or pay to:
yourname@upiPlease mention invoiceINV-2026-014in the payment note and share the UTR after payment.
Use your own UPI ID and verify the payee name shown by the UPI app before confirming a test payment. A QR is a convenience; the printed UPI ID gives the client an accessible fallback if the image does not scan.
For a standalone counter or profile QR, you can also use the free UPI QR code generator. For an invoice, keep the QR beside the exact amount and invoice number so the payment has useful context.
Success looks like this: the client sees the amount, the payee identifier and the invoice reference together, with no need to ask “Where should I pay?”
Step 5: Send the invoice and follow up politely
Why this matters: a good invoice can still be missed if the message does not tell the client what to approve and when.
Send the PDF with a direct subject line such as Invoice INV-2026-014 — website copy — due 7 Nov 2026. In the message, include the total, due date, covered milestone and payment method. Keep the tone factual and friendly.
If the due date passes, use a short sequence:
- Before the due date: “Sharing a reminder that invoice INV-2026-014 is due on 7 November.”
- On or shortly after the due date: “Could you please confirm the payment status for invoice INV-2026-014 for ₹16,500?”
- If the client raises a query: resend the scope or approval reference and correct the invoice only when the underlying amount changes.
Keep the sent PDF, agreement, approval messages and payment confirmation together. If you revise an invoice, give the new document a clear label and tell the client which version supersedes the earlier one.
Verify your invoice before sending
Use this final checklist:
- The invoice number is unique and follows your sequence.
- Your name, address and contact details are correct.
- The client’s billing name and address are correct.
- The service description matches the agreed work.
- Quantity × rate equals each line amount.
- Subtotal, adjustments, tax if applicable and total are calculated correctly.
- The due date matches the agreement.
- The UPI ID and payee name are correct.
- The QR scans and shows the intended payee before you send the PDF.
- The file name is easy to search, such as
INV-2026-014-Aarav-Mehta.pdf.
Common invoice mistakes and fixes
Using “Invoice” without a number: Add a unique sequence from your first bill. It helps both sides refer to the same document.
Writing only “consulting services”: Name the project, period, milestone or deliverable. Specific language reduces approval questions.
Adding tax automatically: Remove unused tax rows. If GST applies, use the correct registration and tax details for the supply; if you are unsure, ask a qualified professional.
Showing a QR without a text fallback: Print the UPI ID below the QR and include the invoice number in the payment note.
Sending an unreviewed PDF: Open the downloaded file, check the total, and scan the QR before forwarding it.
FAQ
What is the best freelancer invoice format in India?
A clear format has your details, the client’s details, a unique invoice number, dates, service lines, amount due, applicable tax details and payment instructions. Add a UPI QR when you want the client to pay directly from the PDF.
Can I make a freelancer invoice without GST?
You can prepare a normal service invoice with the commercial details relevant to your work, but do not add or collect GST casually. Whether GST registration, a tax invoice or another document applies depends on your facts; check the current CBIC invoice rules and get professional advice for your situation.
Should a freelancer include PAN on an invoice?
Many clients ask for PAN or other identification details for their vendor records, so include it when the client requests it or when it is relevant to your records. Do not replace a GSTIN with a PAN where a GST-specific field is required.
Can I send a freelance invoice on WhatsApp?
Yes, you can send the PDF through WhatsApp if that is how you and the client communicate. Use a clear file name and message, and keep the same PDF in your invoice folder or email records.
How can clients pay a freelance invoice by UPI?
Add your UPI ID and a readable QR beside the amount due, then ask the client to check the payee name before paying. A payment note containing the invoice number makes later matching easier.
Create your next invoice with the free PaymentSetu invoice generator, add your UPI QR, and send a clean PDF your client can approve quickly.