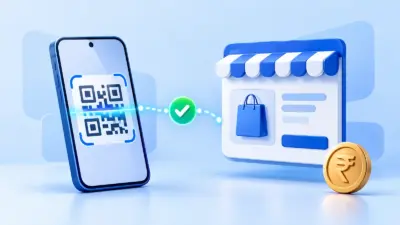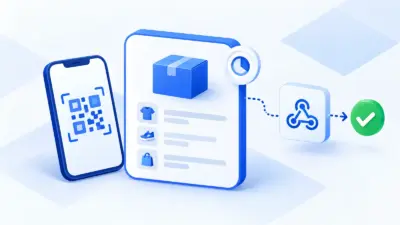

How to start an online store with woocommerce in india depends on more than installing a theme: you need the right ₹ pricing, tax display, delivery rules and payment confirmation. This 2026 checklist takes you from a domain and hosting account to a tested first order, including UPI checkout that pays into your own merchant account.
PaymentSetu’s WooCommerce plugin is a free download that works with a PaymentSetu plan from ₹399 / 30 days. The customer pays by UPI straight to your own Paytm Business or PhonePe Business merchant account; PaymentSetu verifies the UTR and amount, then sends a webhook to update the order. It is a payment verification service, not a payment gateway, and it never holds your money.
What you need before you start
Prepare these decisions before opening WordPress. They prevent a common beginner mistake: designing the homepage first and discovering later that checkout, delivery or invoices are not ready.
| You need | Decide before setup |
|---|---|
| Domain and hosting | Choose your domain, a WordPress-capable host, HTTPS, backups and an email address you will monitor. |
| Store offer | Decide what you sell, your first products, prices, stock, product weights and delivery areas. |
| Business details | Keep your legal or trading name, business address, support phone, return address and GSTIN if applicable to your business. |
| Delivery plan | Choose all-India delivery, selected states or selected PIN codes. Decide whether you offer free shipping, a flat rate, local pickup or more than one option. |
| Payment account | Have an active Paytm Business or PhonePe Business merchant account ready for UPI payments. |
| Customer policies | Draft shipping, returns/refunds, privacy, terms and contact pages in language your buyers can understand. |
Keep your first launch small. One clear category and a few properly described products are enough to test the full buying journey. You can expand the catalogue after checkout, stock and fulfilment work reliably.
Step 1: Install WordPress and WooCommerce
Why this matters: WordPress is the site foundation, while WooCommerce adds products, cart, checkout, orders and store settings.
Do this:
- Point your domain to your host and enable HTTPS. As a current baseline, WordPress recommends PHP 8.3 or greater, MariaDB 10.11 or greater or MySQL 8.0 or greater, plus HTTPS. Check the official WordPress requirements before buying or renewing hosting.
- Install WordPress from your host’s installer, or follow the official WordPress installation guide if you are installing it manually.
- Sign in to
your-domain.in/wp-adminand go to Plugins > Add New Plugin. - Search for WooCommerce, select Install Now, and then Activate.
- When the WooCommerce onboarding wizard opens, enter your store name, store location, store email and product type. Skip optional recommendations that you do not need yet.
- Open WooCommerce > Home and use the setup checklist to add a product, configure payments, customise the store, configure tax and select shipping.
Success looks like this: your WordPress dashboard shows WooCommerce, and your site has working Shop, Cart, Checkout and My account pages. The WooCommerce setup documentation describes the wizard and its launch checklist.
Step 2: Set India settings for currency, address and tax
Why this matters: a store can look Indian and still show the wrong currency, address fields or tax totals at checkout.
Go to WooCommerce > Settings > General and review each setting:
- Set the store address to the business or fulfilment address you want WooCommerce to use for store calculations. Do not use a temporary developer address on a live store.
- Set selling locations and shipping locations to India if you are starting with domestic orders. You can add international locations later when you have a delivery and tax process for them.
- Set the currency to Indian rupee (₹). Choose whether the symbol appears before or after the price, then use the same convention in product descriptions and promotions.
- Choose the default customer location deliberately. If tax and shipping depend on the buyer’s address, let the customer enter an address before you promise a final total.
- Set weight and dimension units that match your warehouse and courier information. Consistent kilograms, grams, centimetres and millimetres matter when you later add rate-based shipping.
For GST configuration, first decide whether your business needs to collect and show GST, and which product and location rules apply. WooCommerce does not decide whether you must register or what rate is legally correct. If you are unsure, ask a qualified tax professional.
If tax applies to your store, go to WooCommerce > Settings > General, enable tax rates and calculations, save, and then open WooCommerce > Settings > Tax. Decide whether your product prices are entered inclusive or exclusive of tax. Then keep the product, shop, cart and checkout display choices consistent. Read the WooCommerce tax settings documentation before entering rates; it explains the software settings but does not replace tax advice.
Success looks like this: a product priced at ₹1,000 displays as ₹1,000 in your chosen format, the checkout asks for the address information needed for your calculation, and the tax line is understandable. Place a test order before publishing your catalogue.
Step 3: Add products and essential store pages
Why this matters: shoppers need enough information to decide, and your fulfilment process needs accurate product data.
Add your first product from Products > Add New. Complete these fields:
- Product name that says what the buyer receives.
- Short description for the key benefit, size, material, usage or delivery expectation.
- Full description with specifications, what is included, care instructions and useful answers.
- Regular price and sale price, if you actually intend to run a sale.
- Product image with a clear main photo and supporting images where they help.
- SKU, stock status and inventory quantity if you track physical stock.
- Weight and dimensions for physical products. Mark services, downloads or other non-shipped items as virtual where appropriate.
- Product category, attributes and variations such as size or colour when buyers must choose between options.
Create the pages customers look for before they pay:
- About or business information
- Contact details and support hours
- Shipping and delivery areas, charges and estimated handling time
- Returns, refunds and cancellation terms
- Privacy policy and terms of service
Make the footer and main menu link to these pages. Also check WooCommerce > Settings > Accounts & Privacy so you understand guest checkout, account creation and the privacy notices shown during checkout.
If you send invoices with a UPI QR, you can also use PaymentSetu’s free invoice generator while you are preparing your business workflow. It is separate from the WooCommerce checkout.
Success looks like this: a visitor can open a product on a phone, understand the offer and reach checkout without asking you for missing size, price, delivery or return information.
Step 4: Set shipping zones and decide on COD
Why this matters: WooCommerce only shows delivery methods that match the customer’s address, so an incomplete zone can stop a valid order at checkout.
Go to WooCommerce > Settings > Shipping > Shipping zones and start with a simple rule:
- Add an India zone covering the regions where you deliver.
- Add Flat rate if you charge one delivery amount. Set the amount in ₹ and decide whether it applies per order or per item.
- Add Free shipping if you offer it for a qualifying order value or to a particular area.
- Add Local pickup only if customers can genuinely collect from a stated location.
- Add more specific state or PIN-code zones later when their rates differ. Put the most specific zones above broad zones because WooCommerce matches the first applicable zone.
- Review the Rest of the world zone. Leave it without a method if you are not ready to ship outside your India delivery area.
If you want cash on delivery as well as UPI, go to WooCommerce > Settings > Payments > Take offline payments, enable Cash on Delivery, and use Manage to choose the title, instructions and eligible shipping methods. COD orders remain Processing until you collect the payment, so confirm collection before marking one complete. Keep COD restricted to the areas and products your fulfilment team can serve.
Success looks like this: enter a sample Indian PIN code at checkout and see the intended shipping method, charge and delivery wording. Try a PIN code outside your service area and confirm that the site does not promise delivery you cannot fulfil.
Step 5: Choose UPI payments into your own merchant account
Why this matters: the payment method determines how money reaches you and how WooCommerce learns that an order has been paid.
PaymentSetu is designed for a WooCommerce store that wants UPI checkout without per-payment commission. The customer scans a dynamic QR and pays your own connected Paytm Business or PhonePe Business merchant account. PaymentSetu matches the UTR and amount to the order, then sends a webhook for the order update. The money goes directly to your merchant account; PaymentSetu does not hold it and is not a payment gateway.
The plugin is free to download and needs a PaymentSetu plan. The available plans are:
| Plan | Price | Verified payments |
|---|---|---|
| Starter | ₹399 / 30 days | 100 credits |
| Pro | ₹999 / 30 days | 1,000 credits |
| Business | ₹1,499 / 30 days | 100,000 credits |
One credit represents one successful payment verified. For a growing WooCommerce store, Pro is the practical starting choice because it includes the WooCommerce plugin, 1,000 credits and priority support. Choose the plan that matches your expected order volume, then create your PaymentSetu account. You can review the plan details at the PaymentSetu pricing section.
If you are comparing this model with a conventional gateway, see our guide to payment gateway fees on ₹1L, ₹5L and ₹10L sales. Compare the complete cost and the settlement flow, not just the word “UPI” in a feature list.
Success looks like this: your checkout shows a UPI payment choice, the QR contains the correct order amount, and a controlled test payment reaches your connected merchant account and updates the matching WooCommerce order.
Step 6: Install the PaymentSetu WooCommerce plugin
Why this matters: the plugin connects the WooCommerce order to PaymentSetu’s verification and webhook flow without custom checkout code.
Do this:
- Open the PaymentSetu WooCommerce plugin page and download
paymentsetu-gateway.zip. - In WordPress, go to Plugins > Add New Plugin > Upload Plugin.
- Choose the ZIP file, select Install Now, and activate the plugin after WordPress confirms installation.
- Go to WooCommerce > Settings > Payments. Enable PaymentSetu and open its settings with Manage.
- Follow the plugin’s setup screen to connect your PaymentSetu account and your Paytm Business or PhonePe Business merchant account. Enter the API or account values shown in your PaymentSetu dashboard; do not paste credentials into a public page.
- Save the settings and check the customer-facing title and instructions. Make the wording clear that the buyer should pay the amount shown at checkout.
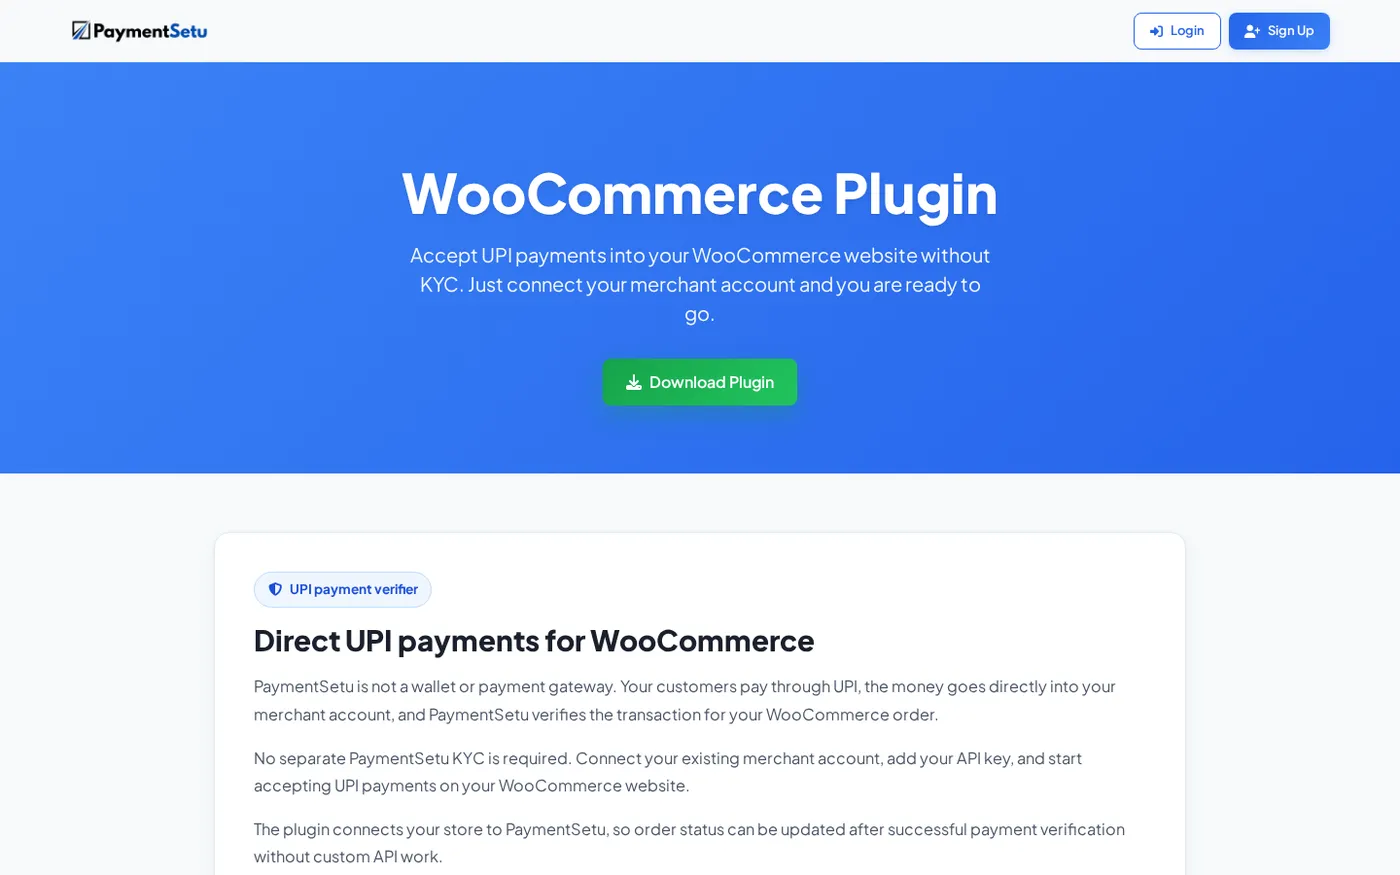
You do not need separate custom API work for a normal WooCommerce setup. The plugin handles the checkout hand-off and webhook update; you still need a valid PaymentSetu plan and a connected merchant account.
Success looks like this: PaymentSetu is enabled under WooCommerce > Settings > Payments, the payment option appears in a logged-out checkout, and the order’s payment instructions show the correct amount. Do not treat a customer’s screenshot as payment proof; confirm the payment and order status through the connected workflow. If you need help identifying the transaction reference, read what a UTR number in UPI means.
Step 7: Finish policy pages, emails and mobile testing
Why this matters: the first real customer experiences your checkout, emails and policies—not your WordPress dashboard.
Before launch:
- Open WooCommerce > Settings > Emails and set a monitored sender address. Send a test email and check spam folders.
- Check the shop, product, cart, checkout, order confirmation and account pages on a phone. Test menu links, product images, quantity controls and coupon behaviour if you use coupons.
- Add a clear contact method to the header, footer and checkout-adjacent help text.
- Confirm the store uses HTTPS on every customer-facing page and that no development or staging notice remains visible.
- Take a backup before major plugin or theme updates. Keep WordPress, WooCommerce, your theme and plugins updated after checking compatibility.
- Place one low-value controlled test order. Check the total, tax display, shipping charge, UPI QR amount, merchant-account credit, webhook update, customer email, stock reduction and admin email.
- Decide how you will pack, ship, answer support messages and handle refunds before you run ads or announce the store.
For a broader payments decision, compare this checklist with how to accept online payments for a small business in India.
Launch checklist: what should be true before you share the link
Use this final pass from a logged-out browser and a mobile phone:
| Check | Pass condition |
|---|---|
| Domain and HTTPS | The store opens on the final domain without browser security warnings. |
| Product | Name, price, image, stock, variation and delivery information are correct. |
| India settings | ₹ appears correctly and the store address and customer fields are deliberate. |
| Tax display | Your chosen inclusive or exclusive display is consistent and reviewed by the appropriate adviser. |
| Shipping | A supported PIN code gets a method and a charge; an unsupported area is handled honestly. |
| Payments | UPI checkout shows the right amount and the test order is updated after verification. |
| COD | It is either disabled or limited to the shipping methods you can fulfil. |
| Emails | Customer and admin notifications arrive with useful order details. |
| Policies | Shipping, returns/refunds, privacy, terms and contact pages are easy to find. |
| Operations | You know who will confirm orders, pack them, answer questions and reconcile payments. |
Troubleshooting before launch
The UPI option is missing. Confirm the PaymentSetu plugin is active, the method is enabled under WooCommerce > Settings > Payments, and the store is loading over HTTPS. Check the plugin settings and save them again before testing from a logged-out browser.
The order is not moving to the paid state after a test payment. First confirm that the payment reached the connected merchant account. Then compare the order amount and UTR with the payment record, check the PaymentSetu connection and webhook settings, and use the PaymentSetu contact page if you need account-specific help. Do not manually mark the order complete until you have verified the payment.
Checkout says no shipping is available. Check the customer’s PIN code, the order of your shipping zones and whether the matching zone has at least one enabled method. WooCommerce applies only the first matching zone, so a broad zone placed above a specific one can produce the wrong result.
The GST amount looks wrong. Check whether prices are entered inclusive or exclusive of tax, whether shop and checkout display settings match, and whether the correct tax class was assigned to the product. Ask a qualified tax professional to confirm the business rule and rate; do not fix a legal-tax question by guessing a percentage.
COD appears for an order where you do not want it. Open the COD settings and remove the relevant shipping method or disable COD until your delivery process is ready. Run checkout again after clearing the cart or using a private browser window.
FAQ
How much does it cost to start a WooCommerce store in India?
Your total depends on the domain, hosting, theme, extensions, shipping and business setup you choose. The PaymentSetu WooCommerce plugin is a free download and works with plans from ₹399 / 30 days; the Starter plan includes 100 verified-payment credits.
Can WooCommerce accept UPI without a conventional payment gateway?
Yes, you can use a verification flow in which the customer pays your own connected merchant account and the order is updated after the payment is matched. PaymentSetu follows this model: it verifies the UTR and amount and sends a webhook, while the funds go directly to your Paytm Business or PhonePe Business account.
Do I need GST registration to start an online store?
That depends on your business, products, customers and applicable rules, so WooCommerce cannot answer it for you. Speak with a qualified tax professional, then configure WooCommerce’s tax display and product tax classes to match the advice you receive.
How do I set up GST fields in WooCommerce?
Enable tax calculations under WooCommerce > Settings > General, then configure tax classes and rates under WooCommerce > Settings > Tax after confirming the correct treatment. For business identifiers or invoice layouts that are not provided by your current setup, use a suitable invoicing or checkout extension and test the resulting document before launch.
Can I offer UPI and cash on delivery together?
Yes. Enable PaymentSetu for UPI and enable Cash on Delivery under WooCommerce > Settings > Payments > Take offline payments. Restrict COD to the shipping methods you support, then place one test order using each payment choice.