

A wordpress upi payment setup can work with a full WooCommerce checkout or a simple WordPress page for services, courses, bookings and invoices. This guide shows both routes, including order-wise QR codes, server-side API calls and webhook verification so you do not have to approve payments from screenshots.
PaymentSetu is a payment verification service, not a payment gateway. The customer pays directly into your connected Paytm Business or PhonePe Business merchant account; PaymentSetu matches the payment to the QR and order, then sends a webhook for your site to act on it.
Pick your route
Start with the platform you already use. You do not need WooCommerce just to show a payment button, but a non-WooCommerce page still needs a small server-side integration if you want automatic order matching.
| Route | How it works | Best for |
|---|---|---|
| WooCommerce + PaymentSetu plugin | The plugin creates the checkout payment flow and uses a verified webhook to update the order. | Products, subscriptions and standard online stores |
| WordPress page + PaymentSetu API | Your server creates an order, displays its dynamic QR, then receives a signed webhook. | Services, courses, appointments, donations and custom checkouts |
| Static QR | A fixed QR is placed on a page, invoice or printed material. | Occasional or assisted collection where you reconcile payments manually |
For an online store, use the plugin route. For a landing page that sells one consultation or course seat, the API route gives you order references without installing an e-commerce system. If you only need a printable code, use PaymentSetu’s free UPI QR code generator.
What you need before starting
Prepare these items before editing WordPress:
- A WordPress site with HTTPS and administrator access.
- A Paytm Business or PhonePe Business merchant account to receive the money.
- A PaymentSetu account, plan and API key. The Starter plan is ₹399 per 30 days for 100 credits, where one credit represents one successful payment verified.
- A public HTTPS webhook URL if you are building the non-WooCommerce route.
- A local record for the order ID, amount, payment status, transaction reference and UTR.
Keep the API key and webhook signing secret on the server. Never paste them into a WordPress paragraph, a public JavaScript file, a browser form or a Git repository. WordPress’s plugin documentation also recommends reviewing compatibility and keeping installed plugins updated.
Step 1: Connect your merchant account and create the API key
Why this matters: the payment destination and the verification connection are separate parts of the flow. The customer pays your merchant account, while your API key identifies your site when it creates an order.
- Create or sign in to your PaymentSetu account.
- Connect your Paytm Business or PhonePe Business merchant account.
- Create an API key for this WordPress site and store it in server-side configuration.
- Decide which public HTTPS URL will receive webhook events. For a custom page, this can be an endpoint in a small custom plugin or your existing server application.
- Register that webhook URL with the API key configuration.
Success looks like: the merchant account is connected, the API key is stored outside the page content, and the webhook URL is ready to receive a POST request.
Step 2: Route 1 — install the WooCommerce plugin
Why this matters: WooCommerce can provide the cart, checkout, order record and fulfilment hooks, so you do not need to build those pieces yourself.
Download paymentsetu-gateway.zip from the PaymentSetu WooCommerce plugin page. In WordPress admin, follow this sequence:
- Open
Plugins > Add New > Upload Plugin. - Choose
paymentsetu-gateway.zipand select Install Now. - Select Activate Plugin after installation finishes.
- Open
WooCommerce > Settings > Payments. - Enable PaymentSetu and open its settings.
WordPress documents the same ZIP upload sequence as Plugins > Add New, Upload Plugin, choose the ZIP and Install Now, followed by activation. If the plugin is not listed after upload, check Plugins > Installed Plugins before trying another installation.
Success looks like: PaymentSetu is active in the WordPress plugin list and appears in the WooCommerce Payments screen.
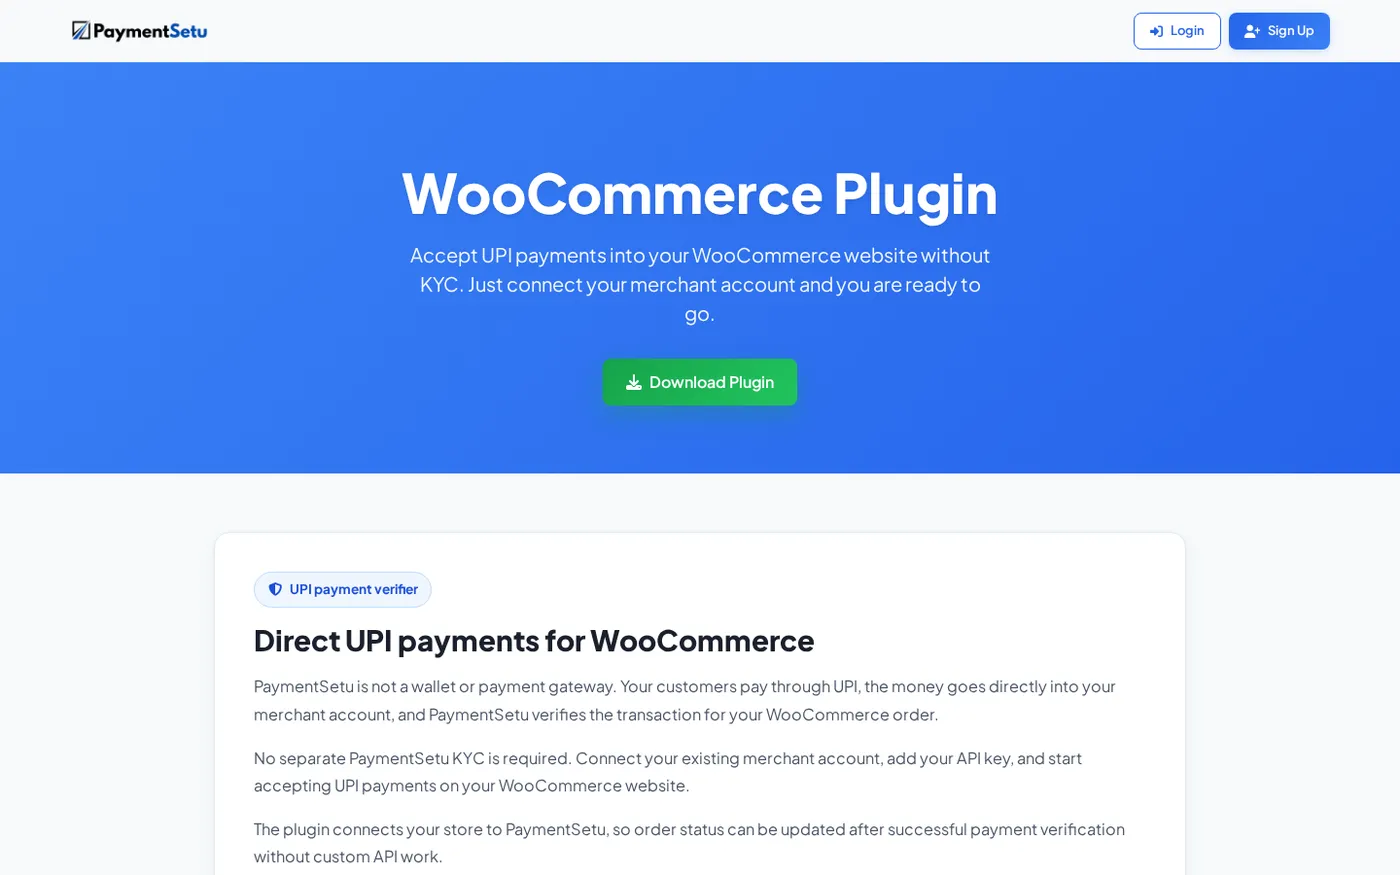
Step 3: Route 1 — connect the webhook and test checkout
Why this matters: installing a plugin does not connect your store to payment verification. The API key and webhook are what let the verified result reach the matching WooCommerce order.
- Copy the webhook URL shown in the PaymentSetu plugin settings.
- Add that exact URL when creating or editing your PaymentSetu API key.
- Copy the API key into the PaymentSetu settings under
WooCommerce > Settings > Payments. - Save the settings and keep the payment method enabled.
- Place a controlled test order from a separate device.
- Scan the QR, confirm the merchant name and amount in your UPI app, and complete the payment.
The plugin creates the payment connection, PaymentSetu verifies the transaction and the webhook lets WooCommerce update the order. The customer’s money goes to your own connected merchant account; PaymentSetu does not hold it.
Success looks like: the test payment is visible in your merchant account, the amount matches the order, and the WooCommerce order moves forward only after verification.
Step 4: Route 2 — create an order from a WordPress page
Why this matters: a normal WordPress page can collect a booking, course enrolment or service request without WooCommerce, but the page needs an order record before it displays a QR.
Create the page in WordPress, but keep the payment call in a server-side handler. That handler can live in a small custom plugin or in the application that already manages your bookings. The browser should send only a safe request such as “start payment for booking 184”; the server must look up the real amount from its own database.
The custom flow is:
- Create a local order with status
pending. - Generate a unique
client_txn_id, such ascourse-184orbooking-2026-104. - Recalculate the amount on the server from the selected product, booking or invoice.
- Call
POST /api/create_orderwith your API key, the unique transaction reference and the exact amount. - Save the response against the local order.
- Return only the QR data and order reference needed by the page.
A framework-neutral version looks like this:
order = orders.create(status="pending", amount=server_calculated_total)
client_txn_id = "booking-" + order.id

payment_order = paymentsetu.create_order(
    client_txn_id=client_txn_id,
    amount=order.amount,
    api_key=PAYMENTSETU_API_KEY
)

orders.save_payment_reference(order.id, client_txn_id)
return payment_order.qr_data to the WordPress page
Use the current PaymentSetu API documentation for the exact request field names and API-key header format in your language. Do not guess those fields, put the key in the page, or accept a total copied from an editable browser field.
Success looks like: your database has one pending order and unique reference, and the page displays the QR belonging to that order.
Step 5: Route 2 — verify the webhook and update the order
Why this matters: a customer returning to a “thank you” page is not proof of payment. Your server should change the order only after it validates the server-to-server event.
In your webhook handler:
- Read the raw POST body before parsing it as JSON.
- Verify the HMAC signature using your webhook secret and a constant-time comparison.
- Reject invalid signatures and do not change any order.
- Find the local order by
client_txn_idor the reference in the verified event. - Confirm the event is successful and the received amount equals your stored amount.
- Record the UTR and event ID.
- Mark the order paid in one atomic database operation.
- Trigger the booking, course access or fulfilment action once, then return a 2xx response.
PaymentSetu’s API includes GET /api/order_status/{client_txn_id} for a server-side status check and GET /api/check_credits for checking remaining verification credits. Use the order-status endpoint for a pending-order recovery job; a credit balance is not evidence that a particular customer paid.
Make the handler idempotent. If the same valid webhook is delivered twice, the second delivery should return success without granting a second course seat, booking or download. Store the event ID or use an atomic paid-state transition to enforce this rule.
Success looks like: one valid payment creates one paid order, one UTR is recorded, one fulfilment action runs and a repeated event is harmless.
Step 6: Quick option — add a static QR
Why this matters: some service pages need a simple way to show a QR, not a full order system.
Open the free UPI QR code generator, enter your UPI ID and payee name, and add a fixed amount or note when appropriate. Download the generated PNG and add it to a WordPress image block, page, invoice or printed sign.
Use a fixed amount for one clearly defined invoice or service. Leave the amount open for a general payment QR only when you have another reliable way to identify the customer and reconcile the payment. Put your own payment instructions beside the image, including the reference the customer should include if your process uses one.
A static QR does not automatically connect a payment to a WordPress order. Do not fulfil a digital product or booking only because someone sends a screenshot. Check the merchant account and match the amount, reference and UTR using your own reconciliation process.
Success looks like: the QR opens with the expected payee, the amount and note are correct, and your staff know exactly how to match an incoming payment to the right request.
Verify the complete WordPress flow before launch
Run this checklist on a test page or controlled order:
- Open the page on mobile and desktop.
- Confirm the QR belongs to the current order and shows the expected amount.
- Scan it from a separate device and verify the payee name before approving payment.
- Check that the money reaches your connected merchant account.
- Confirm the webhook has the expected reference, amount and successful status.
- Confirm the WordPress order changes once, not on a browser redirect.
- Replay the webhook and confirm no duplicate fulfilment occurs.
- Send an invalid signature and confirm that your endpoint rejects it.
- Test the server-side order-status check for an order that remains pending.
For WooCommerce, also check stock, order email and any digital-download or booking action after verification. For a custom page, check that the user sees a clear pending state while the server checks the payment.
Troubleshooting common mistakes
PaymentSetu is not visible in WooCommerce. Confirm that both WooCommerce and the PaymentSetu plugin are active, then open WooCommerce > Settings > Payments and enable the method.
The order stays pending after payment. Check that the webhook URL is public HTTPS, the API key is the same one registered with the URL, and the event reference matches the local order’s client_txn_id. Use the server-side status endpoint for reconciliation; do not accept a screenshot as confirmation.
The custom page exposes a secret. Move the API call into a server-side handler and rotate the exposed key. Browser JavaScript should receive only the QR data and a safe order reference.
A webhook fulfils an order twice. Add an event-ID uniqueness check or an atomic state change from pending to paid. A valid repeated webhook should be acknowledged without running fulfilment again.
The static QR creates reconciliation work. Move to an order-wise dynamic QR flow when each booking, invoice or purchase needs its own amount and reference. The API route gives a non-WooCommerce page that structure without adding a full shop.
FAQ
Can I accept UPI on WordPress without WooCommerce?
Yes. You can place a static QR on a WordPress page, or build a server-side flow that calls POST /api/create_order, displays the returned dynamic QR and receives a verified webhook. The second option is better when you need automatic order matching.
Is PaymentSetu a payment gateway?
No. PaymentSetu is a payment verification service. The customer pays directly into your connected Paytm Business or PhonePe Business merchant account, and PaymentSetu verifies the payment and sends the webhook your site uses to update the order.
How do I add UPI payment to WooCommerce?
Download the PaymentSetu WooCommerce plugin, upload paymentsetu-gateway.zip from Plugins > Add New > Upload Plugin, activate it, and enable PaymentSetu under WooCommerce > Settings > Payments. Copy the plugin’s webhook URL into your PaymentSetu API-key setup and paste the API key back into WooCommerce.
What API endpoints do I need for a custom WordPress page?
Use POST /api/create_order to create a payment order, GET /api/order_status/{client_txn_id} to check a specific order and GET /api/check_credits to view remaining credits. Configure the HMAC-signed webhook as the normal confirmation path and keep all API calls on your server.
How much does the WordPress UPI setup cost?
The PaymentSetu WooCommerce plugin is a free download, while the service starts with Starter at ₹399 per 30 days for 100 credits. PaymentSetu charges 0% commission on payments; the customer pays your own connected merchant account directly.
DONE accept-upi-payments-wordpress-without-woocommerce words=2144