
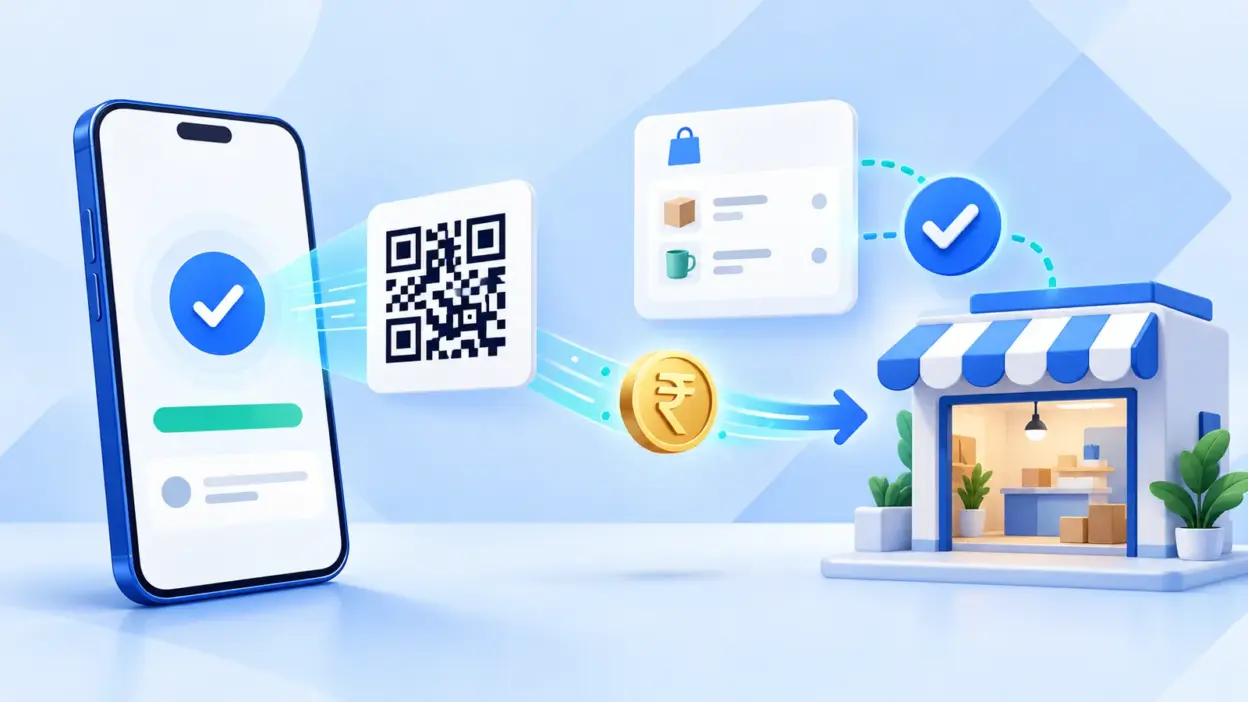
If you are wondering how to accept online payments small business India, the best starting point is usually UPI connected to your own merchant account, with a reliable way to match each payment to an order. You can begin with a bank transfer or static QR, but a dynamic QR plus automatic verification removes much of the manual checking as your order volume grows.
The four options in plain words
There is no single payment setup for every Indian small business. The right choice depends on whether you sell from a counter, through WhatsApp, from a WooCommerce store, through WHMCS, or from a custom website.
1. Bank transfer or UPI ID
You share your bank details or UPI ID and ask the customer to send the amount. This is simple for a few invoices, consulting jobs or WhatsApp orders. You then check your banking app and manually mark the order as paid.
This method gives you control over where the money arrives, but the order and payment are separate records. A customer may forget the order number, send the wrong amount, or send a screenshot before the credit is visible in your account. You need a clear process for checking the actual credit rather than relying only on a screenshot.
2. Static UPI QR
A static QR points to your merchant UPI account. You can print it at a shop counter, add it to an invoice, or send it in a chat. The customer scans it and enters the amount.
Static QR is useful when the buyer is standing in front of you or when you can reconcile a small number of payments by hand. It is less suitable for a website with many open orders because the QR does not create a unique payment reference for each order. NPCI’s QR guidance explains that dynamic QR can carry a transaction reference and amount, while a static QR may leave the amount for the customer to enter, which affects reconciliation. Read the NPCI QR guidance.
For a printable counter QR or a basic invoice, you can use PaymentSetu’s free UPI QR code generator without signing up.
3. Payment gateway
A payment gateway gives your website a hosted or embedded checkout. Depending on the provider and your account, customers may see several payment methods, while the provider manages payment collection and later settlement under its merchant agreement.
This can be useful if you need cards, net banking, wallets, recurring billing or a large set of payment methods. The trade-off is that you must compare onboarding, transaction pricing, settlement timing, refunds, supported payment methods and integration effort. A percentage fee can become a large monthly expense when most of your customers already prefer UPI.
4. Direct UPI plus payment verification
Here, the customer pays by UPI straight into your own connected merchant account. A verification service creates a dynamic QR for the order, matches the UTR and amount to that order, and tells your website when the payment is verified.
PaymentSetu follows this model. It is a payment verification service, not a payment gateway: it does not hold the customer’s money. The payment goes to your own Paytm Business or PhonePe Business merchant account, while PaymentSetu provides dynamic QR, matching, dashboard records, notifications, API access and webhooks.
Cost, settlement and admin-time comparison
Compare payment methods using the cost of the whole workflow, not only the payment screen. A low-cost method that requires you to inspect every transaction can still consume valuable owner or staff time.
| Option | Where the money goes | Cost model | Settlement view | Admin work | Best fit |
|---|---|---|---|---|---|
| PaymentSetu direct UPI + verification | Your own connected merchant account | 0% commission; flat plan from ₹399 per 30 days | Directly in your merchant account according to the account arrangement | Low after setup; order matching and webhook updates are automated | UPI-heavy websites, service businesses and online stores |
| Bank transfer or UPI ID | Your bank or merchant account | Bank/account terms | Direct credit when the transfer succeeds | High; check amount and reference manually | A few invoices or WhatsApp orders |
| Static UPI QR | Your merchant account | Bank/account terms | Direct credit when the transfer succeeds | Medium to high; identify the order manually | Counters, stalls and simple invoices |
| Payment gateway | Provider’s collection and settlement flow | Provider’s transaction fee and any applicable taxes or add-ons | Provider and account schedule | Lower payment matching, but more provider onboarding and reconciliation | Businesses needing several payment methods |
The ₹399 figure is the price of PaymentSetu Starter, not a per-payment charge. Starter includes 100 credits, where one credit represents one successful payment verified. Pro is ₹999 per 30 days for 1,000 credits, and Business is ₹1,499 per 30 days for 100,000 credits.
For a simple comparison, suppose a provider’s quoted transaction fee were 2% and your monthly UPI sales were ₹5,00,000. The arithmetic is ₹5,00,000 × 0.02 = ₹10,000 before any applicable taxes or other charges. That is an illustration, not a universal gateway price; compare the actual written quote with the fixed plan cost and the admin work you would otherwise perform.
UPI itself is designed for instant, 24/7 transfers, and NPCI says a merchant receives money immediately after the customer confirms payment, subject to the merchant’s arrangement with its acquiring bank. See NPCI’s UPI FAQ. The important question for an online seller is not only when the money arrives, but also whether your system can confidently connect that credit to the correct order.

Why direct UPI plus verification fits many small businesses
Direct UPI plus verification is a strong fit when most of your customers already want to pay by UPI and your main need is dependable order confirmation. It keeps the payment in your own merchant account and adds the operational layer that a static QR or shared UPI ID does not provide.
It separates payment from payment processing
The customer completes a UPI payment through their chosen UPI app. PaymentSetu does not replace that merchant account or act as a gateway; it checks the payment information against the order and reports the result to your dashboard or application.
It gives every order a clearer identity
A dynamic QR can carry the amount and a transaction reference. That makes it easier to distinguish two customers paying the same ₹499 invoice, or two orders from the same customer, than a single static QR with no order context.
It reduces repeated checking
For a small store, the hidden cost of online payments is often the owner opening a banking app, reading a UTR, searching an order list and updating the order status. Once the verification webhook is connected, the successful payment can update the order workflow while the dashboard keeps a record for reconciliation.
It scales by verified payments
PaymentSetu plans are based on successful payments verified rather than a percentage of your sales value:
| Plan | Price | Included verified payments | Suitable starting point |
|---|---|---|---|
| Starter | ₹399 / 30 days | 100 | Freelancer, small shop or new online store |
| Pro | ₹999 / 30 days | 1,000 | Growing WooCommerce, WHMCS or service business |
| Business | ₹1,499 / 30 days | 100,000 | High-volume, SaaS or multi-branch operation |
All three plans include dynamic QR, webhooks, a unified dashboard, real-time notifications, API access and email support. Pro adds priority support, while Business adds priority support and a dedicated account manager.
What you need before you start
Prepare these four things before configuring online payments:
- A merchant account. Use your own Paytm Business or PhonePe Business account. PaymentSetu connects to these active merchant-account options so the customer payment goes to you.
- A sales channel. Decide whether you will take payment at a counter, from an invoice, in WooCommerce, in WHMCS or through a custom checkout.
- An order reference. Every online order should have a unique ID that can be shown in your records and associated with the payment.
- A fulfilment rule. Decide that an order is fulfilled only after the payment is marked verified in your system, not just after a customer sends a screenshot.
Step 1: Choose your payment channel
Start with the way customers already buy from you. This prevents you from paying for or building a checkout that your business does not need.
- For a counter, stall or simple invoice, use a static or dynamic QR and reconcile the credit against the bill.
- For a WooCommerce store, use the PaymentSetu WooCommerce plugin. Upload
paymentsetu-gateway.zip, enable it under WooCommerce > Settings > Payments, and configure the account and API details. - For a hosting business using WHMCS, use the PaymentSetu WHMCS gateway module. Place
paymentsetu.phpinmodules/gateways/, add the callback file, and configure the callback URL and API key. - For a custom application, use the API to create an order, show its dynamic QR, check its status when needed and receive the signed webhook.
Success looks like: you can create one test order with a unique reference and show the customer the correct amount and merchant details before they pay.
Step 2: Connect your merchant account and create a test order
Connect the Paytm Business or PhonePe Business merchant account that should receive your customers’ money. Then create a low-value test order from the same channel your customers will use.
For a custom integration, the basic API flow is:
- Call
POST /api/create_orderwith your order reference and amount using API-key authentication. - Display the returned payment instructions or dynamic QR to the customer.
- Use
GET /api/order_status/{client_txn_id}when your application needs to check the current state. - Keep
GET /api/check_creditsavailable for monitoring your verification balance.
Do not treat a screenshot or a customer message as proof that the order is paid. Wait for the verified status from the dashboard, plugin callback or webhook.
Success looks like: the test order has one unique reference, the QR shows the intended amount, and the payment lands in your own merchant account.
Step 3: Secure the webhook and update the order
Configure the webhook endpoint that should receive a verified payment. Check the HMAC signature before accepting the event, match the event to the expected order reference and amount, and make the update idempotent so a repeated event cannot fulfil an order twice.
Your order handler should record at least the order ID, payment status, amount, UTR or transaction reference, verification time and webhook event ID. Keep the payment record with the order so monthly reconciliation does not require searching through chats or screenshots.
Success looks like: a verified payment changes the order to paid exactly once, your fulfilment step starts only after that change, and the event can be found later in your records.
How to choose between a gateway and direct UPI verification
Ask these questions before selecting an integration:
- Do most customers need cards or net banking, or is UPI the main method?
- Do you need the money in your own merchant account immediately after the UPI payment, according to your account arrangement?
- Will someone manually match every payment to an order?
- Is your business already on WooCommerce, WHMCS or a custom application?
- Is your monthly cost easier to predict as a flat plan or as a percentage of payment value?
- Do you need API and webhook events, or only a printable QR?
Choose the simplest setup that gives you a reliable paid-order signal. A freelancer sending ten invoices a month may only need a QR on an invoice. A store taking hundreds of online UPI orders needs dynamic references, automatic matching and a webhook.
If you want to compare the available PaymentSetu plans, see the pricing section. You can also create a PaymentSetu account and start with the plan that matches your expected verified payments.
Common mistakes to avoid
- Using one static QR for every website order: the money may arrive, but identifying the correct order becomes a manual task.
- Accepting screenshots as final proof: screenshots do not replace checking the actual merchant credit and verified order status.
- Ignoring the order reference: without a stable reference, a webhook cannot safely update the right record.
- Fulfilling twice after a retry: webhook handlers should be idempotent and should store the event or transaction reference.
- Choosing only on the headline fee: compare transaction cost, settlement flow, onboarding, supported channels and reconciliation time.
- Mixing personal and business records: use the merchant account intended for your business and keep order, payment and fulfilment records together.
FAQ
What is the easiest way to accept online payments for a small business in India?
For a few invoices or counter sales, a merchant UPI ID or QR is the simplest starting point. If you take online orders, add dynamic references and payment verification so each credit can be matched to one order instead of checked manually.
Can I accept UPI payments without a payment gateway?
Yes. You can accept UPI into your own merchant account using a UPI ID or QR, then use a verification layer to match payments to orders. PaymentSetu is that verification service; it is not a payment gateway and does not hold the money.
What is the difference between static and dynamic UPI QR?
A static QR generally points to the merchant and lets the customer enter the amount. A dynamic QR can include order-specific information such as the amount and transaction reference, which makes online reconciliation more dependable.
How much does PaymentSetu cost for a small business?
PaymentSetu Starter costs ₹399 per 30 days and includes 100 verified payments. Pro costs ₹999 per 30 days for 1,000 verified payments, while Business costs ₹1,499 per 30 days for 100,000 verified payments.
How do I automatically mark a website order as paid?
Create the order with a unique reference, show the dynamic QR, and configure the webhook endpoint. Verify the HMAC signature, match the reference and amount, make the handler idempotent, and fulfil the order only after the verified event is accepted.